
Eduard A6M3 Ty 32 Zero-Sen ProfiPack, Kit No. 82213, 1/48th Scale
By Phillip Friddell on 4th Nov 2022
Several months ago the folks at Eduard stated their intention to issue new, state-of-the-art kits of most of the primary fighter aircraft of the Second World War. The announcement was roundly received as a good thing by the scale modeling community at large since a great many of the presently available kits are years, and in many cases decades, old, and in sore need of replacement. We've already discussed one of the new Eduard kits on these very pages; their F4F-3 Wildcat. Today’s offering, the recently released Mitsubishi A6M3 Type 32 Zero, compliments that earlier kit to a great and we’re finally seeing modern, state-of-the-art kits of some of the early combatants of the Pacific War. That’s a very good thing for us as modelers, so what did we get from The Big E this time? Let’s take a look!
In many respects this newest member of the Eduard Zero-Sen family is an easy kit to review. The accuracy is there, as is all of the fine detail we’ve come to expect from that company. To put things in a true perspective here, those of you possessed of a certain seniority on Life may remember what a marvel Tamiya’s 1/48 the scale Zeke 21 was when it was released back in 1973. It was one of those kits that raised the bar considerably, and it was the early Zero until the 1990s when Hasegawa unleashed their brand new Zero family on an unsuspecting modeling world, instantly relegating Tamiya’s existing but aging Zero family (-21, -32, -52, and Rufe) into a very distant second place. Nowadays it’s déjà vu all over again, as that great American philosopher Yogi Berra once said, because the new Eduard Zekes have just inflicted the exact same fate to their Hasegawa predecessors that the folks at Hasegawa once dealt to the Mighty Tamiya.
They’ve also, in case any of you were wondering, managed to achieve full parity with Tamiya’s newish Zero 22 and 52 kits, an accomplishment worthy of mention.
Since Eduard’s new Zeros are part of a family of kits it stands to reason there would be “not for use” components in the box and there are, although perhaps not as many as you might have expected to see. Multiple transparencies are there, of course, along with alternate radio masts, gunsights, pitot tubes, interior components, external aileron mass balances, engine crankcase housings, underwing bomb racks, and a different rudder as well as both Mitsubishi and Nakajima-specific propeller spinners. Everything is beautifully detailed and component fit of each and every individual part is exemplary. A fret of photoetch detail and interior components is provided along with a sheet of canopy masks. The model is a complete offering with no aftermarket required, although we have to say that with a caveat that we’ll get to in a moment. As good as this kit is there do exist, however, a few flies in the buttermilk that the aspiring modeler should be aware of.
First up, and most importantly, is the location and fitting of the multi- piece wheel wells. Eduard has that whole detailing thing down pat, but they still haven’t quite figured out how to design and produce parts possessed of an absolutely foolproof fit ala Tamiya. There’s nothing inherently wrong with those wheel wells, mind you, but it’s possible to offset their component pieces/parts just a hair when installing them into their home in the lower wing, which will in turn lead to a somewhat wonky wing-to-fuselage fit which will in turn lead to a messed up wing dihedral. Fortunately there’s a super-easy fix for that little inconvenience, which is simply dry fitting everything to make certain of alignment before locking things down with cement. If you do that you’ll never know there could have been a problem while simply slamming things together will probably result in disaster. That’s something to be aware of for sure, one of those ounce of prevention kind of things.
Other, though admittedly minor irritations, include a pitot tube that’s too short (which is no big deal because there’s a perfect one you can use that’s marked not for use in the kit) and rectangular nubs on the exterior of those tiny auxiliary landing gear doors on the wings that are associated with the attachment points of the sprue-to-part joins. Those nubs most assuredly don’t belong there and need to be sanded off--- Eduard, what were you thinking? The engine is simplified as well, but you can see so little of it on the finished model that it honestly doesn’t matter.
Eduard provides tiny clear lenses for those position lights that live on top of the wings of every Zero built, and the kit provides no optional way to deal with that particular detail. The holes for the lenses already exist in the wings, which forces the modeler to cut those extremely tiny components off their sprue, successfully clean them up, and attach them to the wings without messing something up or losing a part (there aren’t any spare lenses provided so losing a part here will be a bad event in your modeling life)! That sounds pretty awful, right, but it honestly isn’t. Magnification is the solution to that particular problem---if you can see what you’re doing and are at all careful you won’t have an issue---and it took us longer to write about it than it did to properly install all four of the lenses so it honestly isn’t that big a deal, but it’s a potential trap you should be aware of.
Finally, there are accuracy issues lurking within the attachment of the canopies and radio mast, as well as with the photo-etched boarding step. Two canopies are provided with the kit so the modeler can pose the model with it opened or closed, which actually isn’t an accuracy issue at all but you’ll want to be sure to use the right one in the right place to make sure the thing fits. Eduard also tell you to omit the radio mast if you’re building either of the first two decal options, the ones for the 204th or Tainan Kus, but that’s definitely not correct, strictly speaking. Those masts did go away with some Zero units due to the unreliability of the radios they served and a desire to save weight (the radios were simply removed in the field since they rarely worked properly anyway), but said masts weren’t unbolted because removing that aft section of the canopy was a significant and time-consuming undertaking; instead the no longer required wooden masts were sawn off even with the top of the canopy.
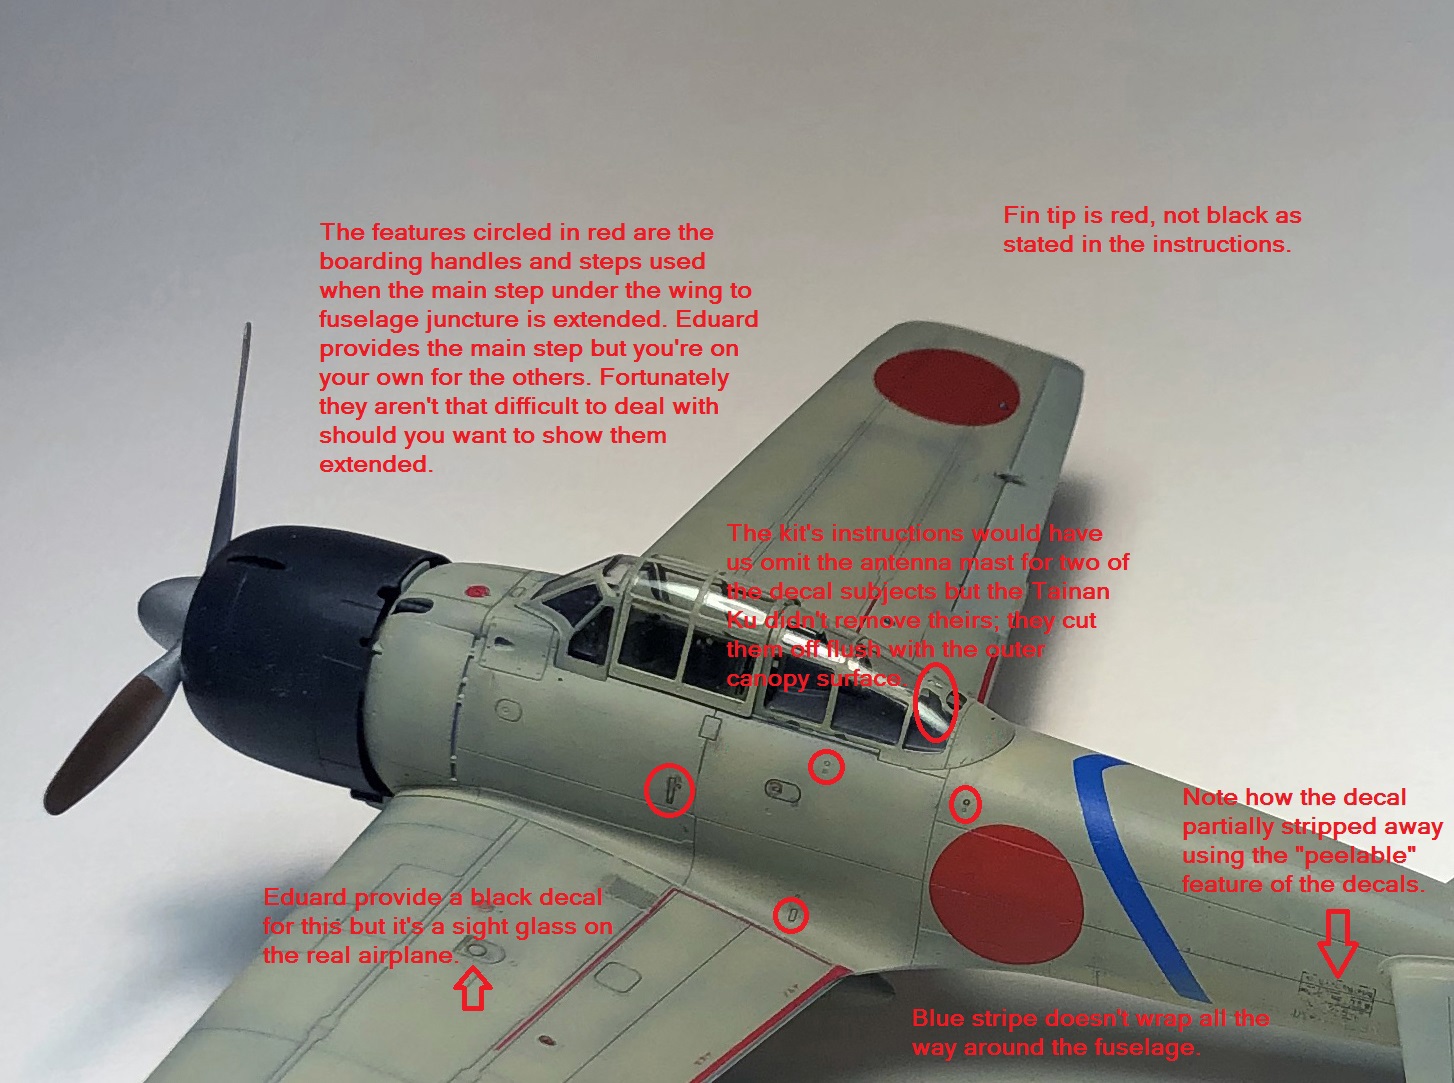
The boarding step is a different issue. It isn’t automatically extended when the canopy is opened on the real airplane but there are a series of handholds and footsteps that pop out of the fuselage when it is deployed. We don’t know if Eduard missed that particular detail or if they chose to ignore it but it’s something that exists on an airplane with deployed footsteps and needs to be addressed if ultimate accuracy of the model is a goal.
Then there are the decals. They’re properly sized, and all of the stencils and smaller markings are beautifully printed, but there’s a distinct dot pattern from the printing process evident on the hinomarus and the colored fuselage stripes and all of the transfers use Eduard’s new decal technology, which worked beautifully on that Wildcat we built a couple of issues back but not quite so well on our Zero. Indeed, that same system was an utter failure for us on this kit and we ended up using someone else’s aftermarket decals for the fuselage hinomarus, while we cut stencils and painted those on the wings. We also cribbed a fuselage stripe, suitably trimmed, from an aftermarket decal sheet. That said, the tail markings and the stenciling came from the kit and worked just fine as long as we used a setting solution and avoided attempting to peel off that final carrier film that’s part of Eduard’s decals nowadays.
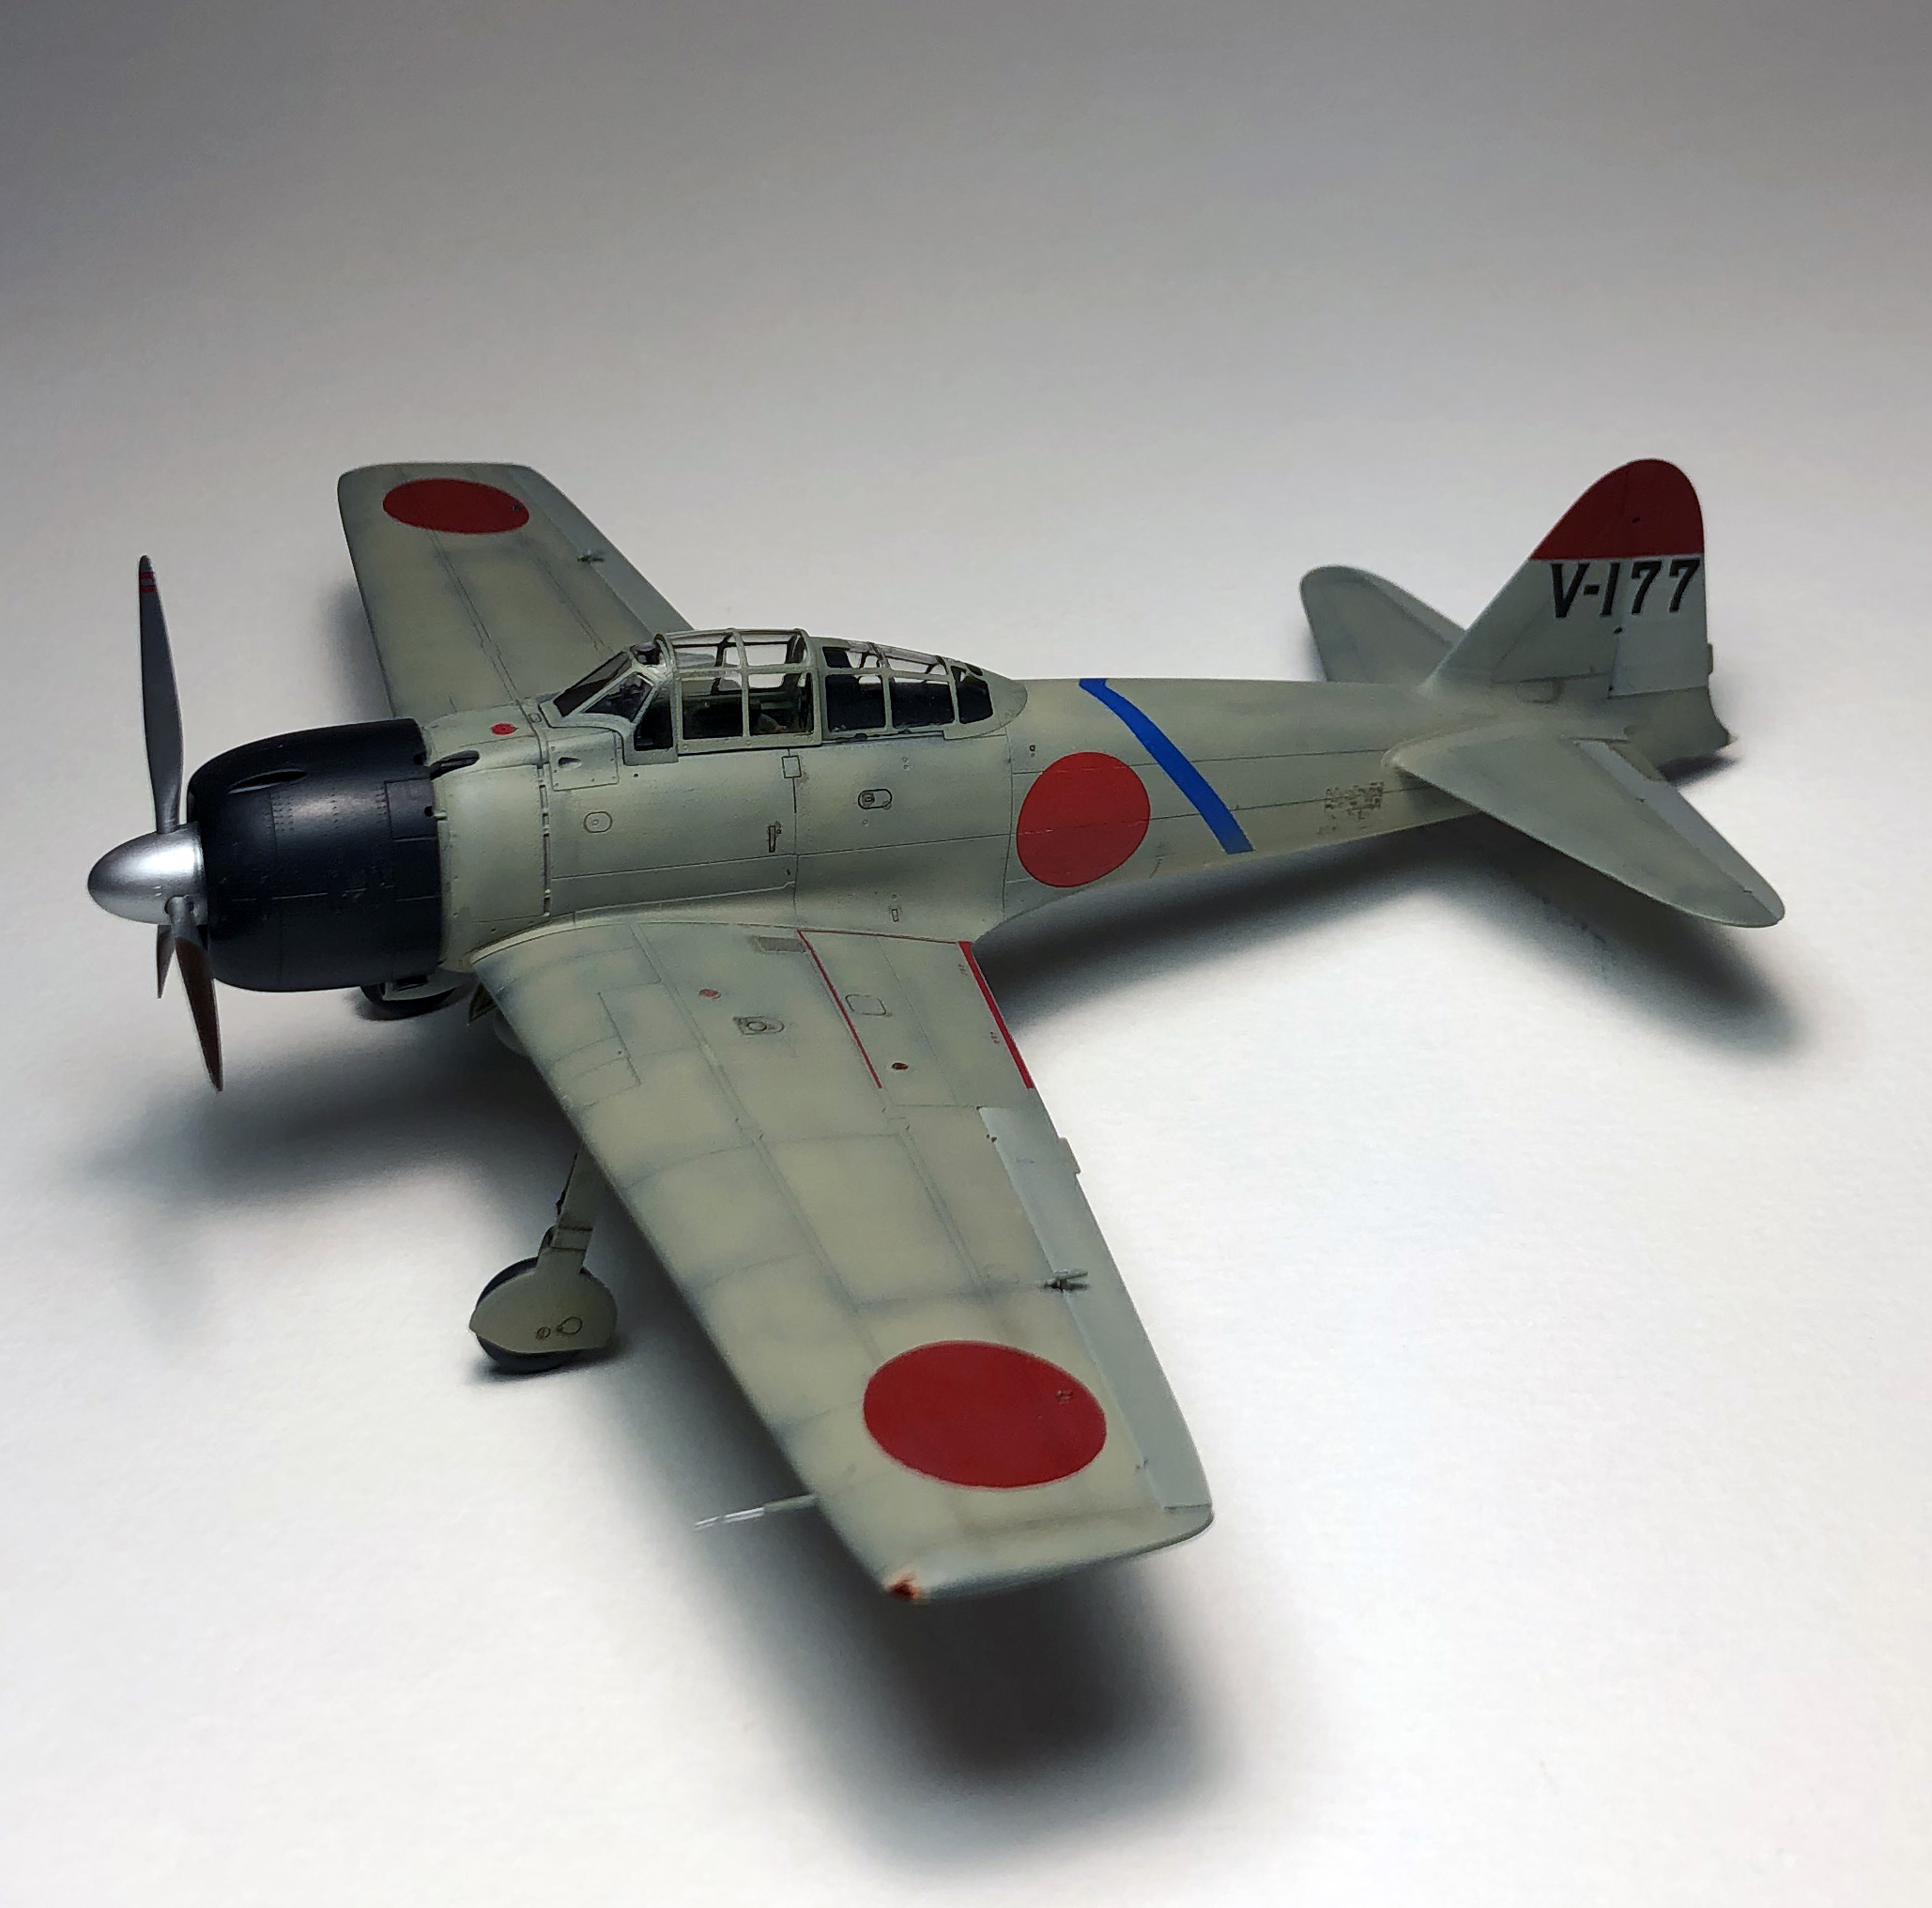
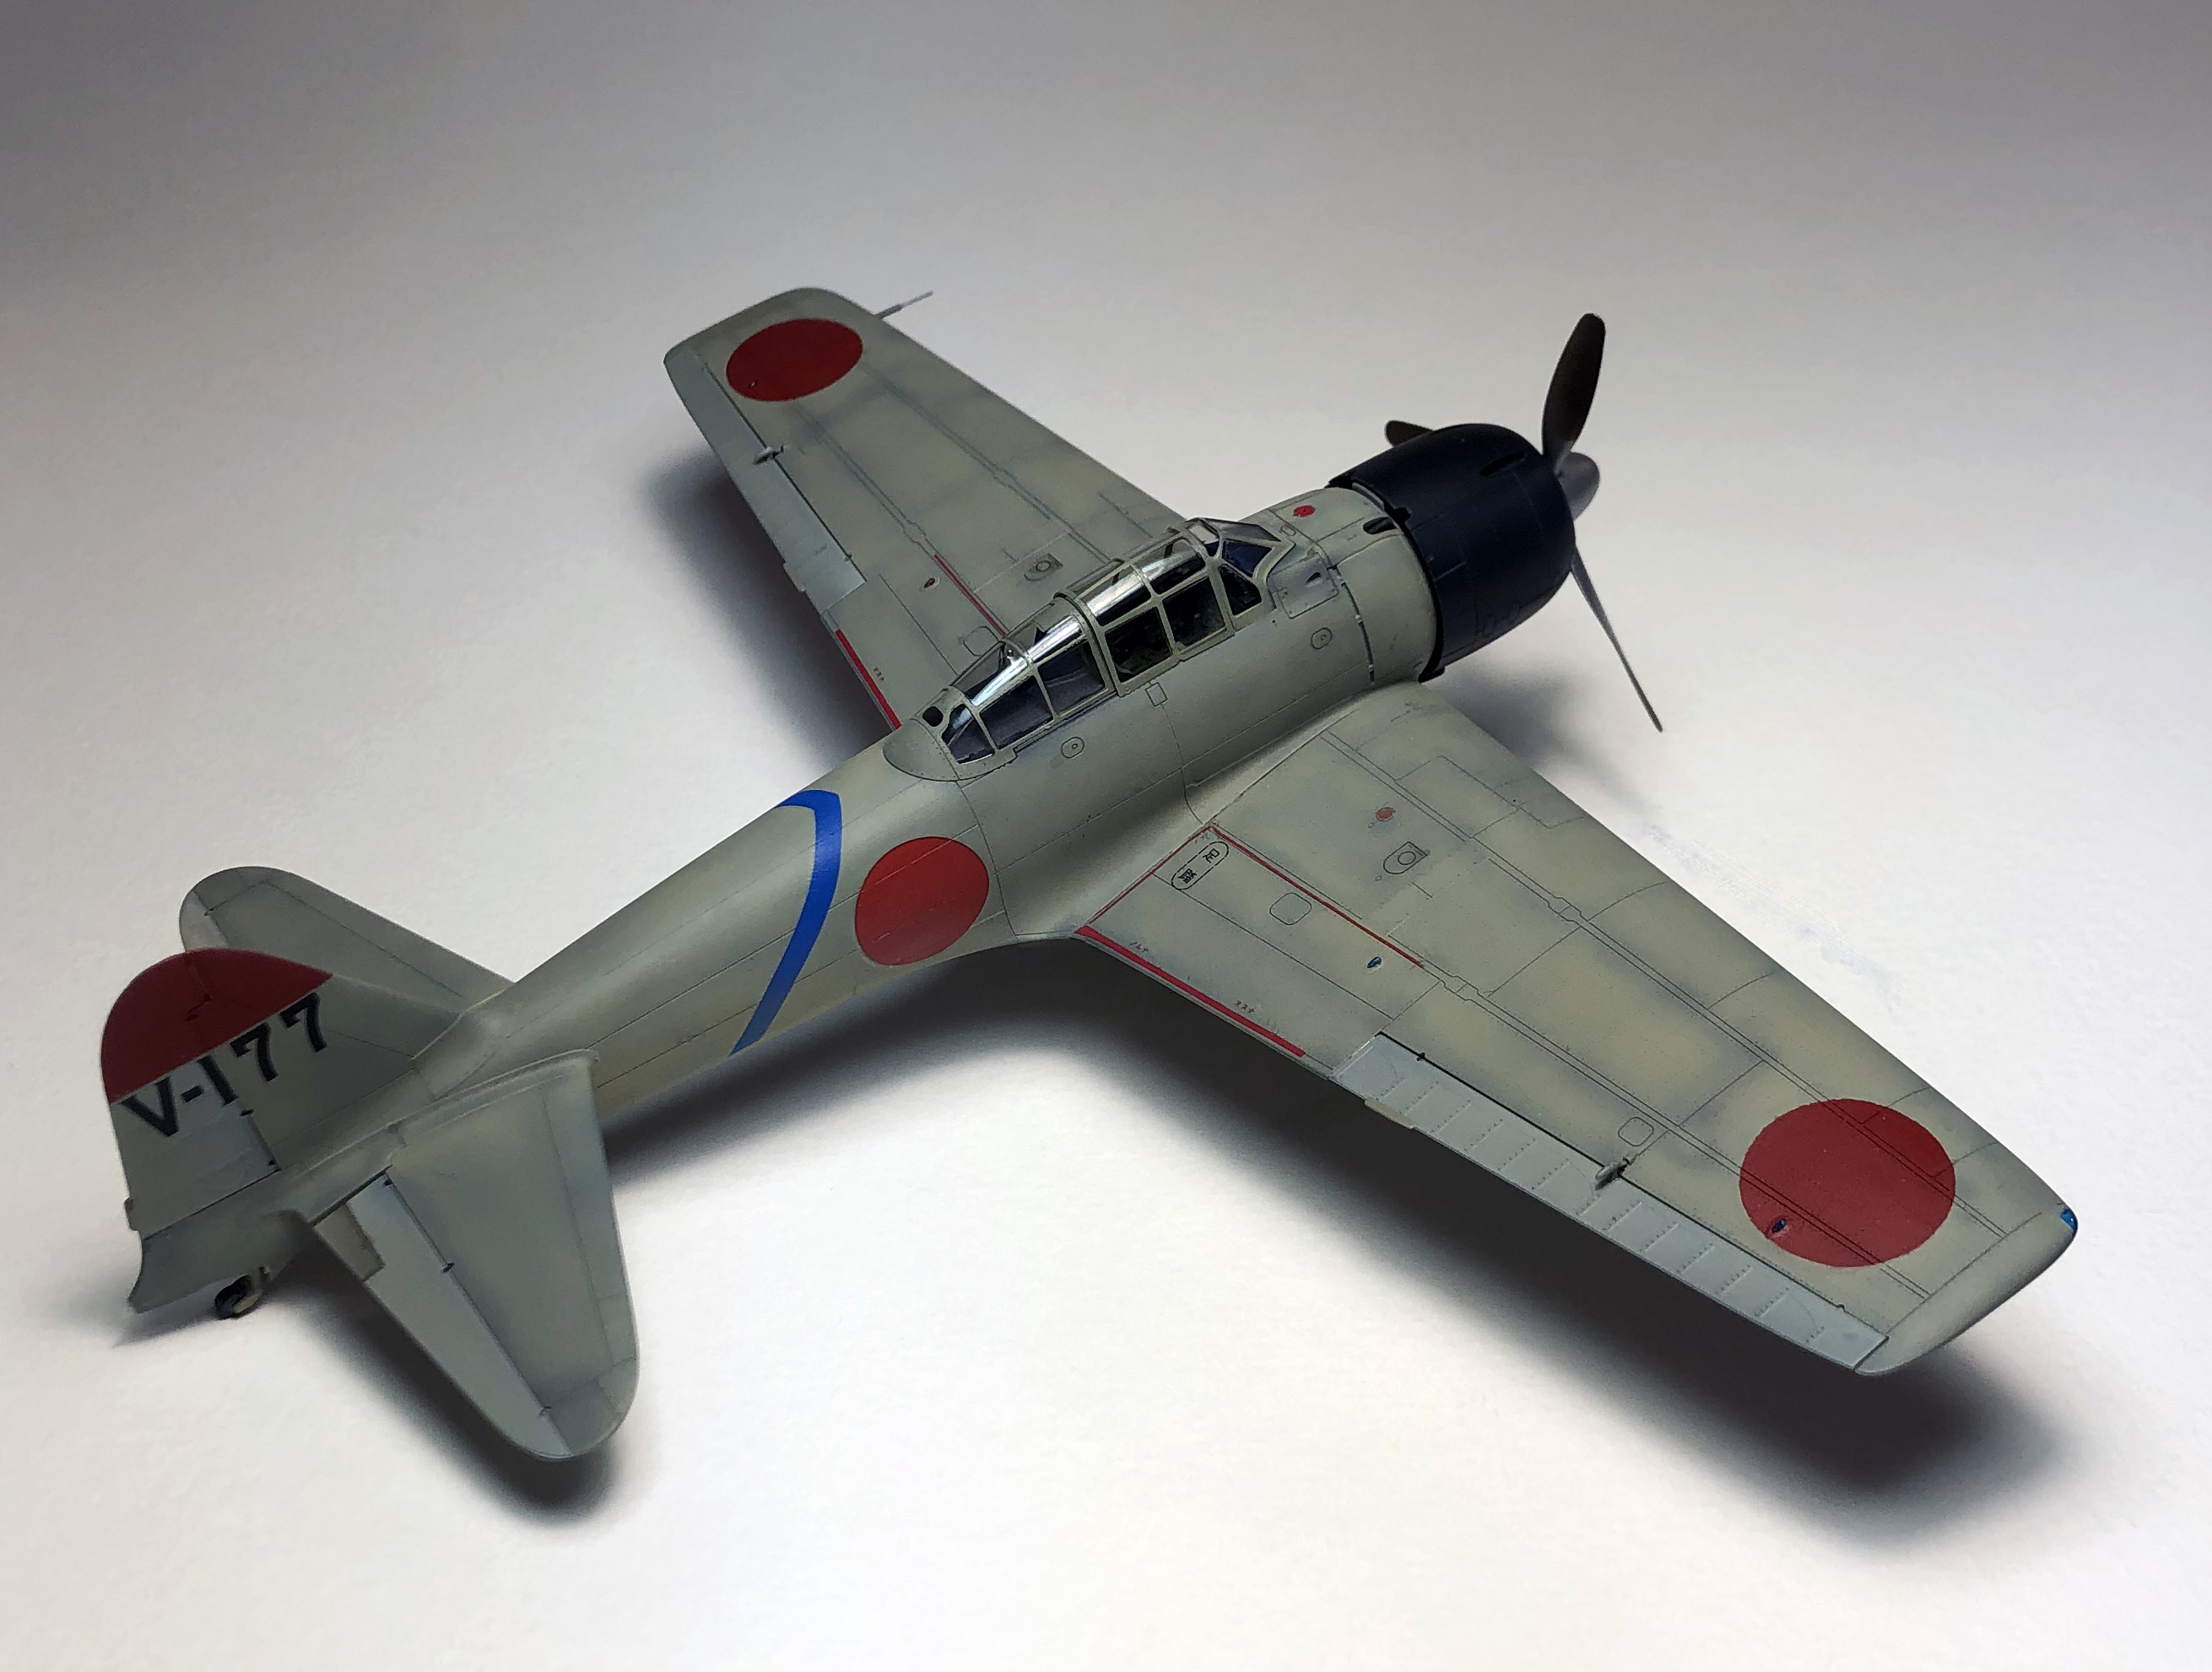
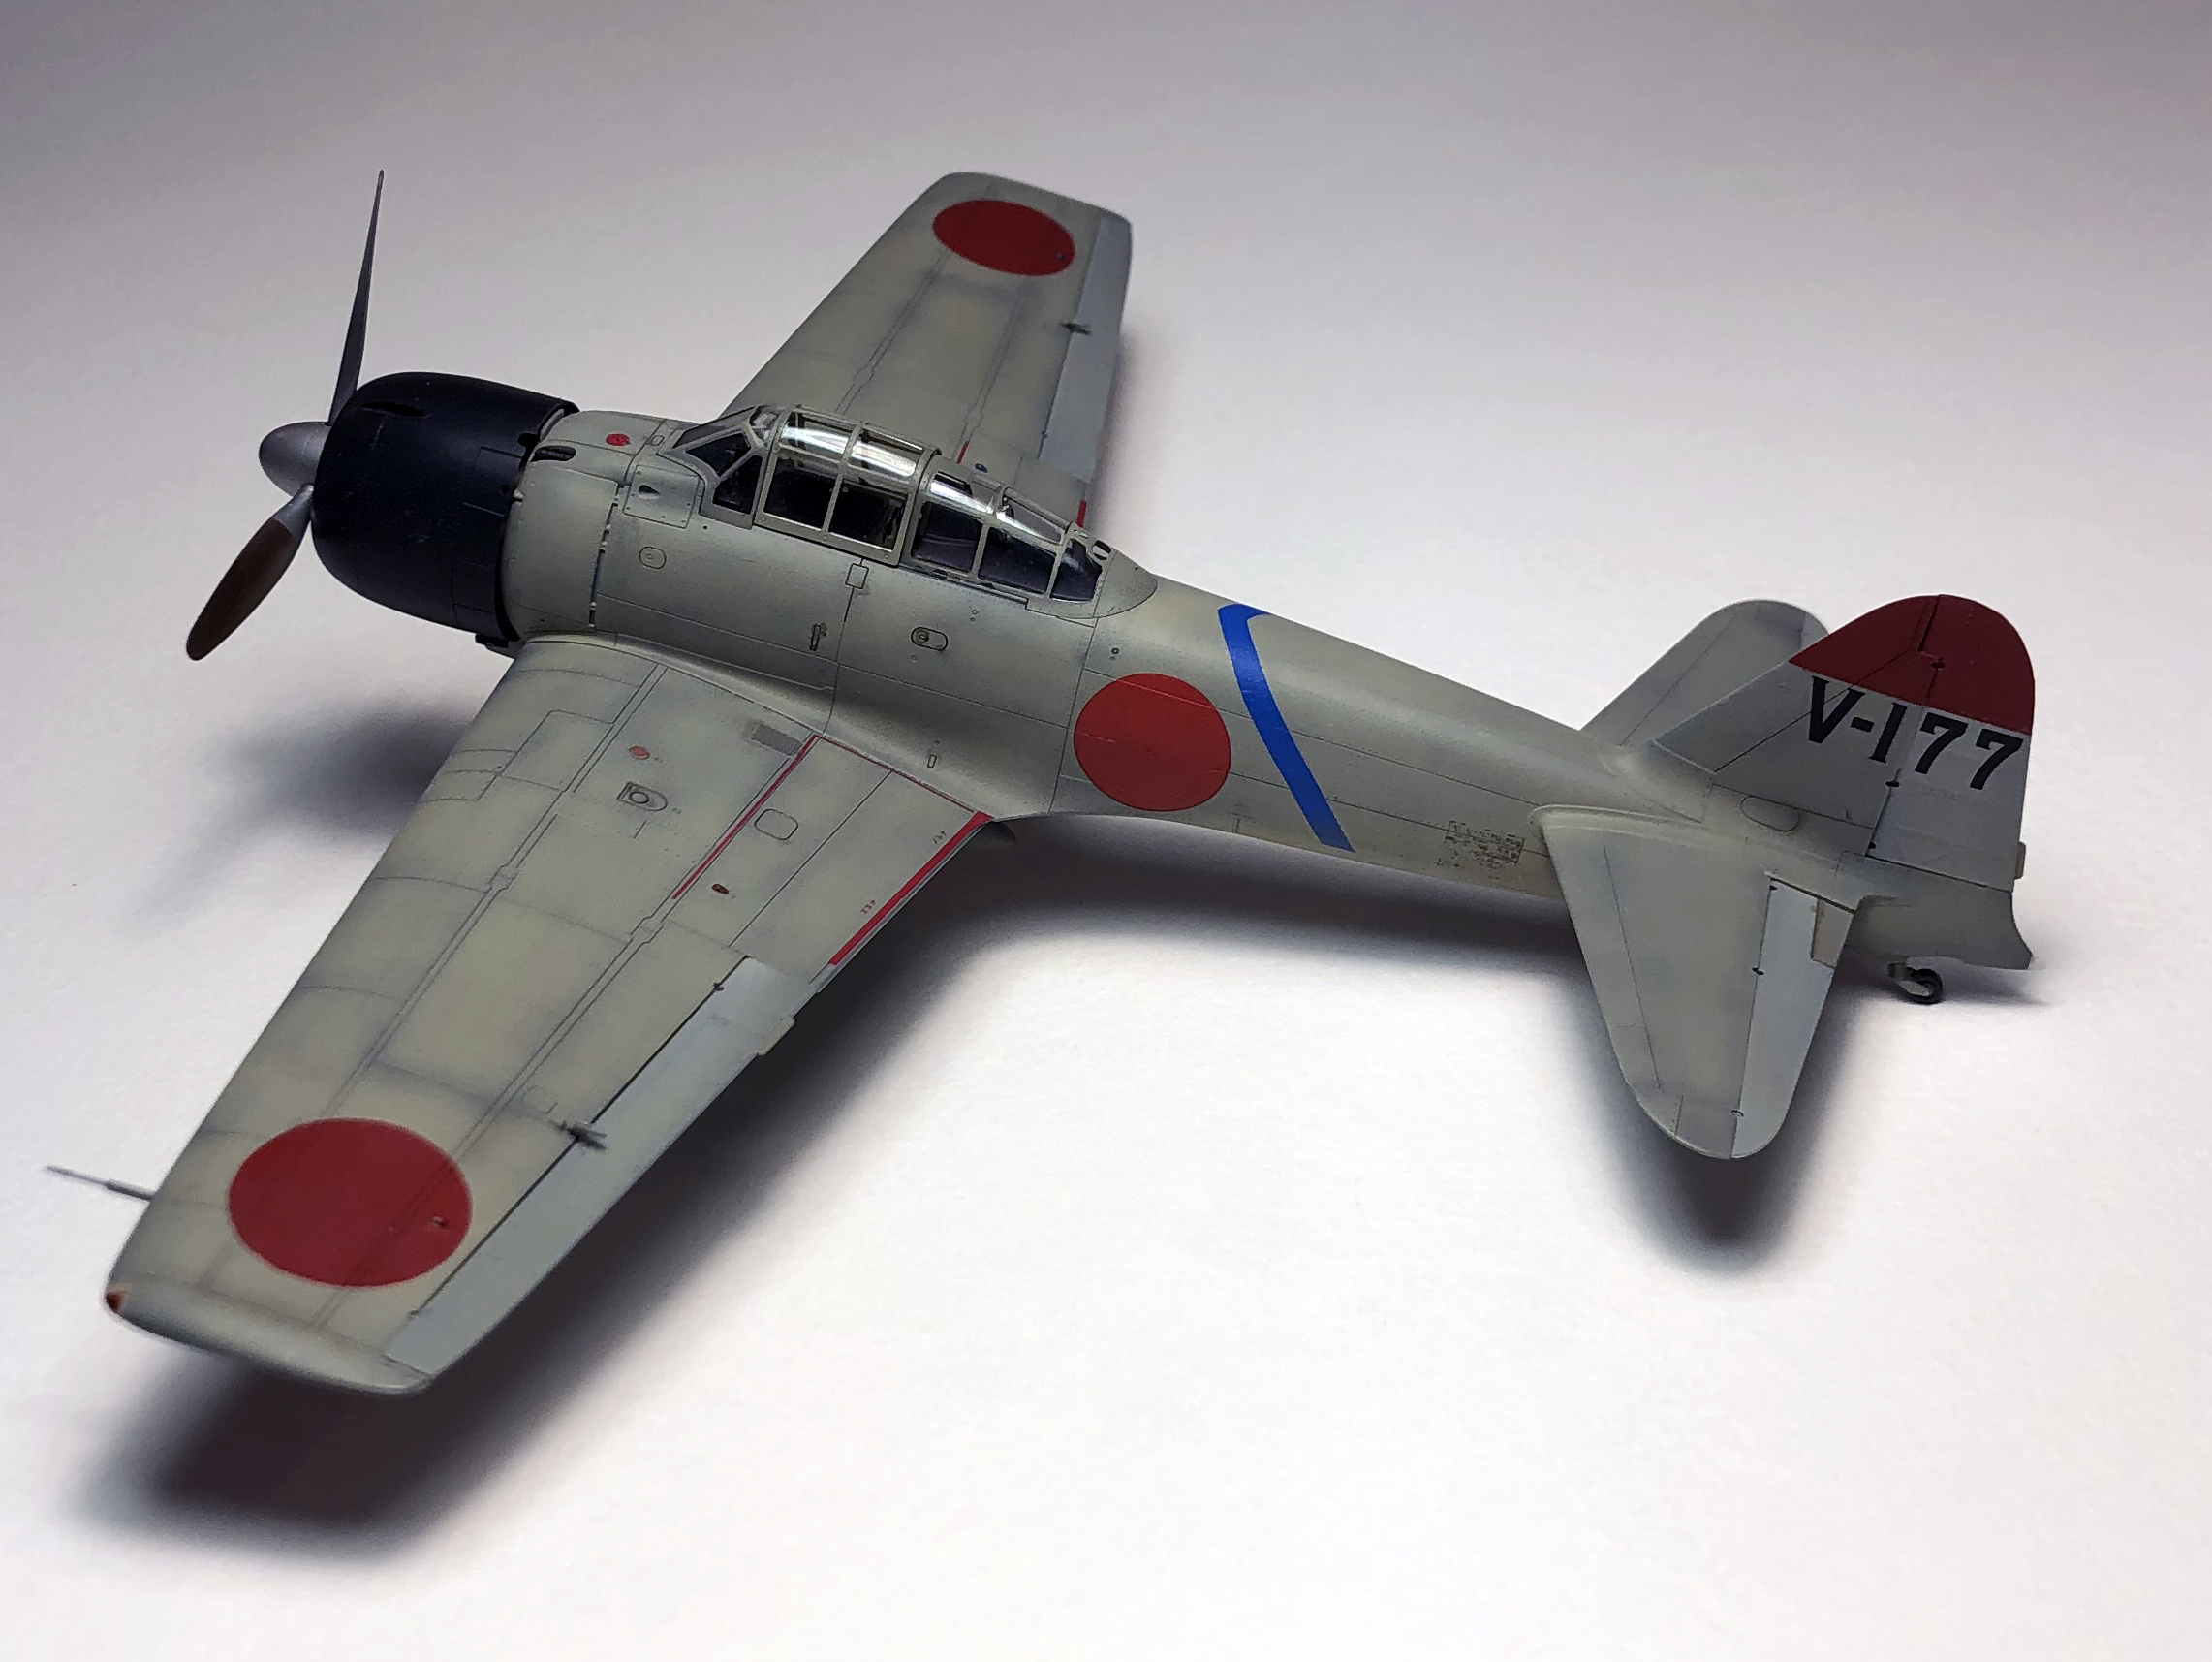
There are some other marking anomalies you need to be aware of as well, or at least you do if you’re building the airplane from the Tainan Ku’s Buna detachment. First, and this applies to all of the Zeros for which the kit provides decals, the red stripes that go on the landing gear doors are wrongly depicted in red, as a single stripe. That’s accurate for an A6M2-11 or an early A6M2-21 but not for the -32, which would have worn Mitsubishi’s normal red/yellow/blue warning stripes in that position. Then there are those black decals, one per wing, that Eduard wants you to use next to the fuel tank cap markings, but those black “dots” are a poor attempt at simulating sight glasses that were actually clear if they were present at all. There should also be a small yellow painted rectangle that lives between the front of the tail wheel well and the aft portion of the arresting hook bay. It was on every production variant of the Zero built and is omitted from both the instruction and the decal sheets for this kit. Finally, that black fin tip shown by Eduard was far more likely to have been red; V-177 belonged to the 3rd Shotai, 2nd Chutai, of the Tainan Ku’s Buna detachment and that unit used red as their identifying color. Further, the blue diagonal fuselage stripe on this particular airplane did not completely encircle the airplane as shown by Eduard. Those gaffes cause us to question the overall accuracy of the decal sheet, but we stopped with the specific airplane we were modeling so we don’t know that for sure. Researching that sort of thing is part of the fun of this hobby anyway, isn’t it?
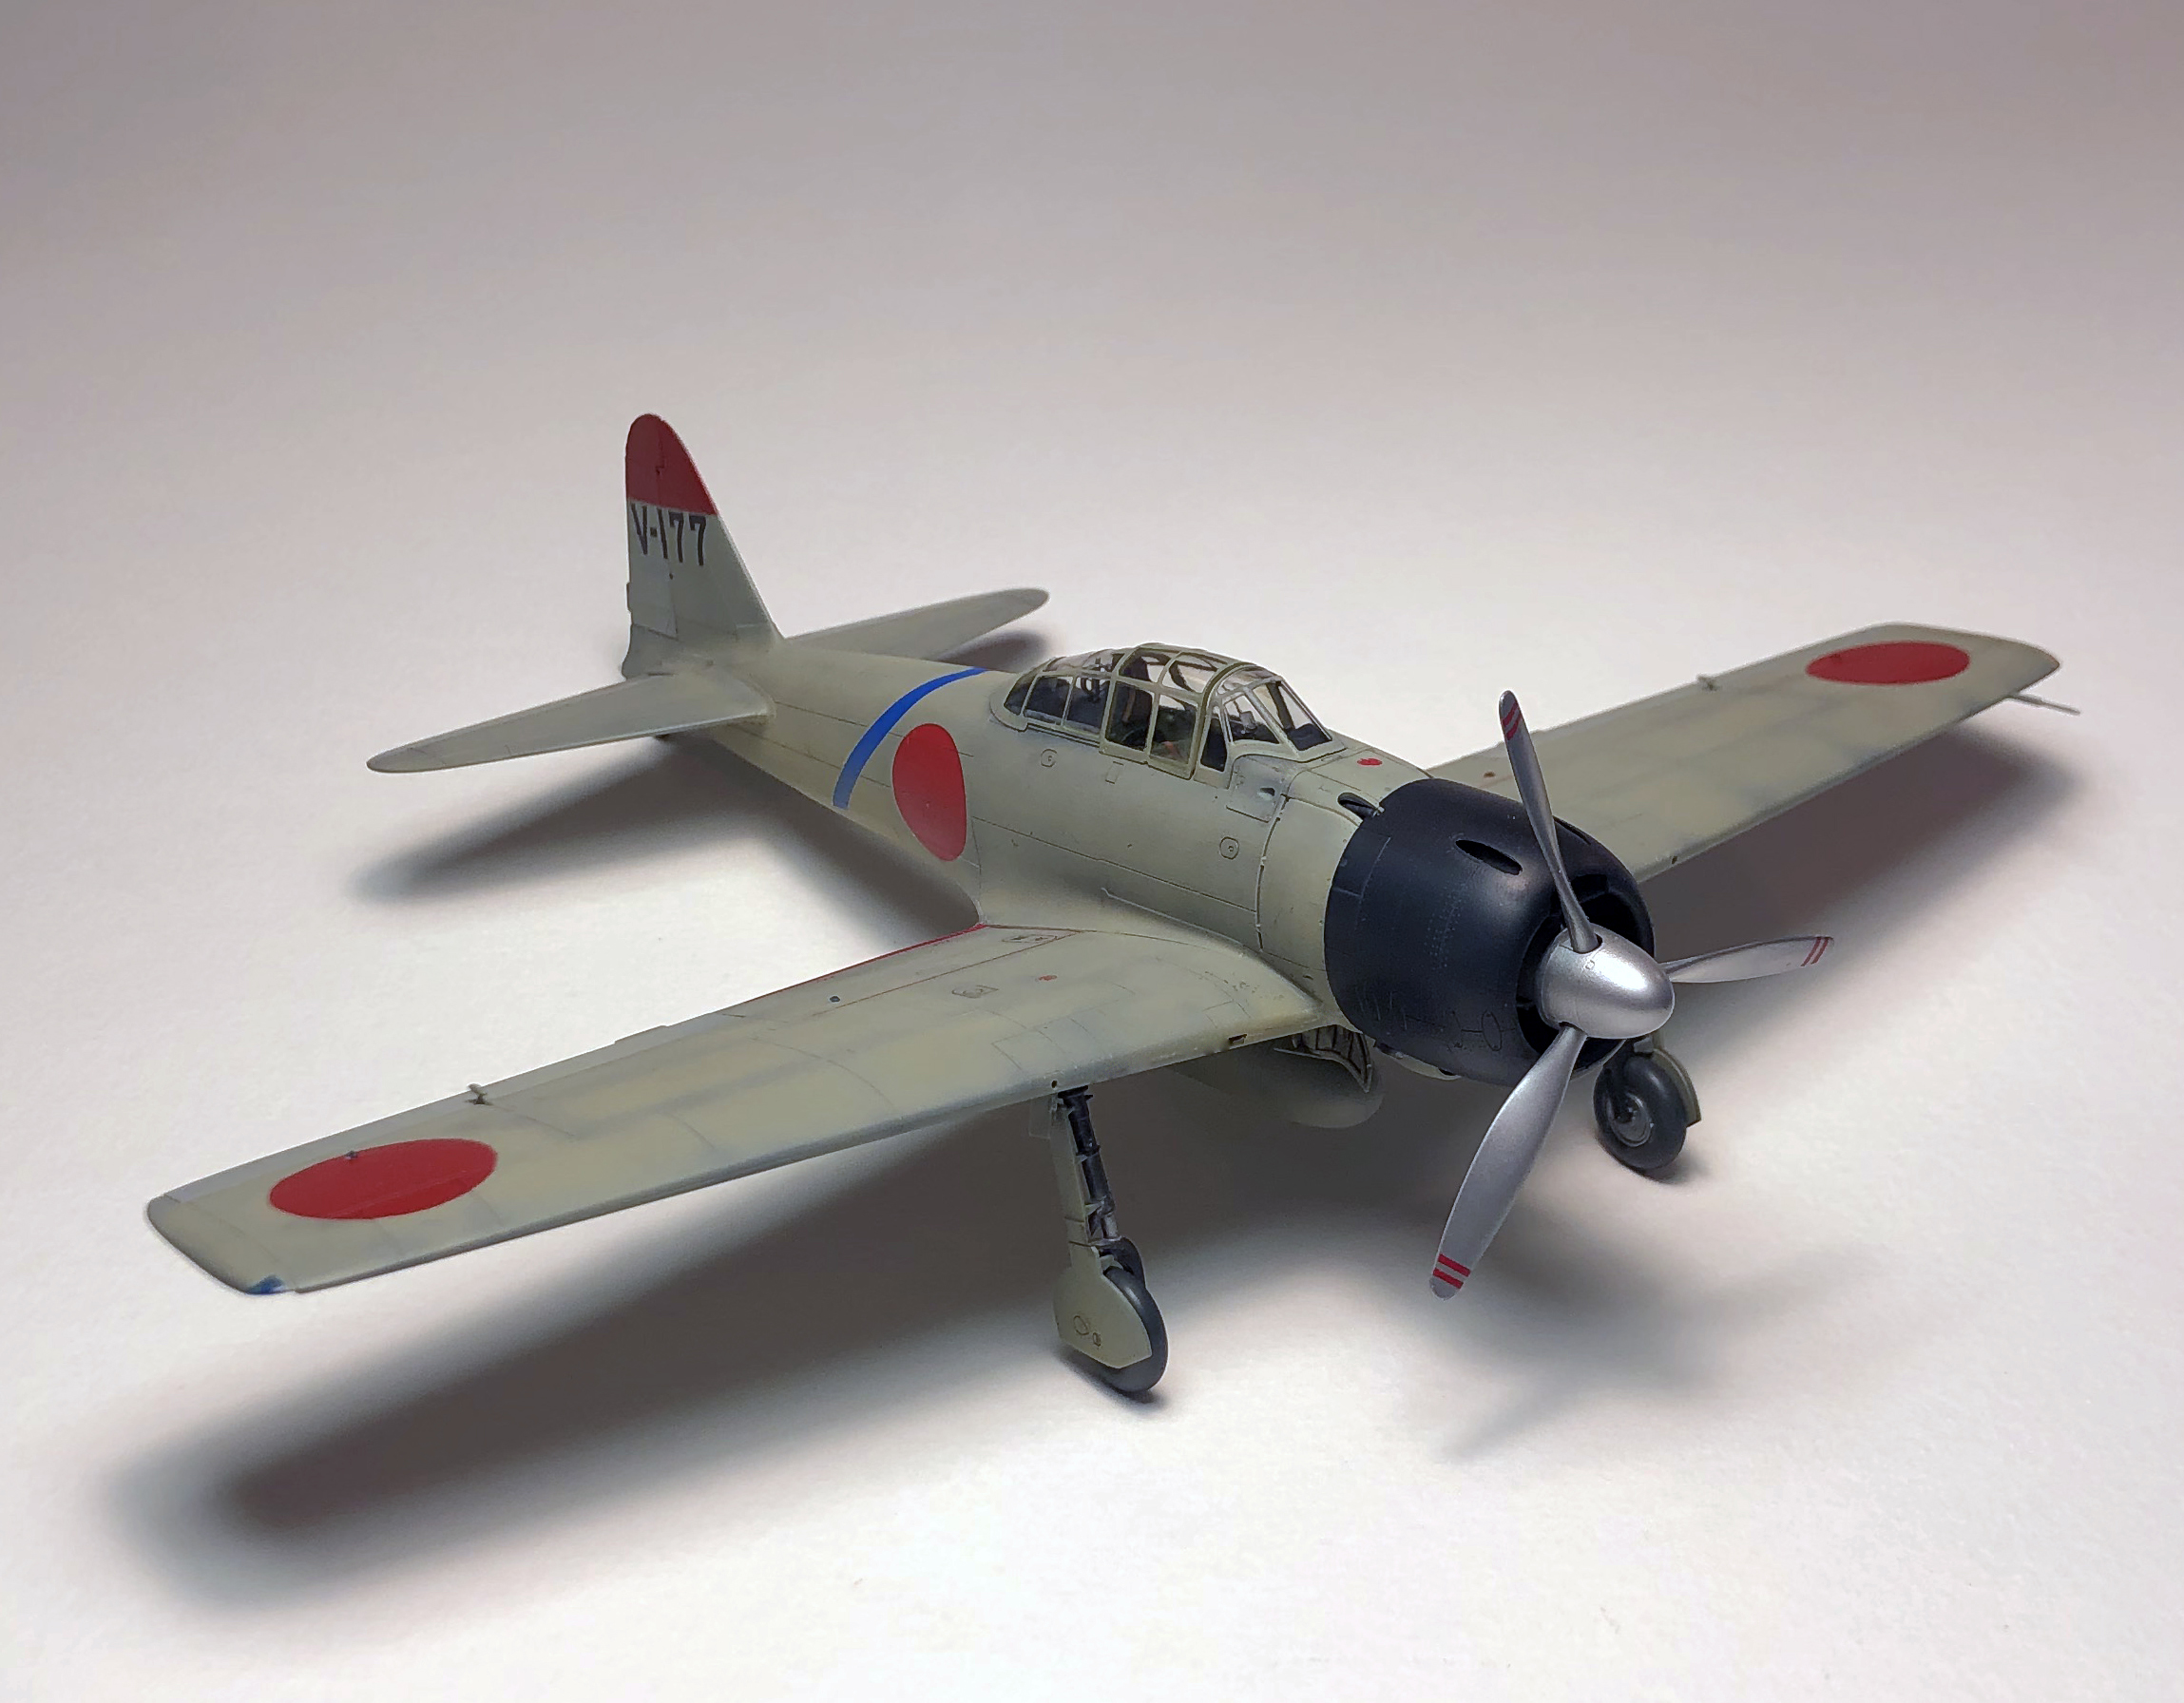
At any rate, and in spite of several comments that could be considered overly critical by some, this actually is a pip of a kit. It’s easy to build, with the potential exceptions noted above, and it’s beautifully detailed. The completed model certainly looks like a Zero-Sen and has everything required, making it King of the Hill, A6M-wise, for the foreseeable future. The decals and at least some of the model’s research are a disappointment but can be worked with, or worked around. The essential truth is that it’s an excellent replica and a superb representation of Mitsubishi’s iconic fighter, albeit one that’s somewhat let down by mediocre decals and markings research. We would build another one in a heartbeat!
Banzai, Ya’ll!