, K32001, 1/32nd Scale")
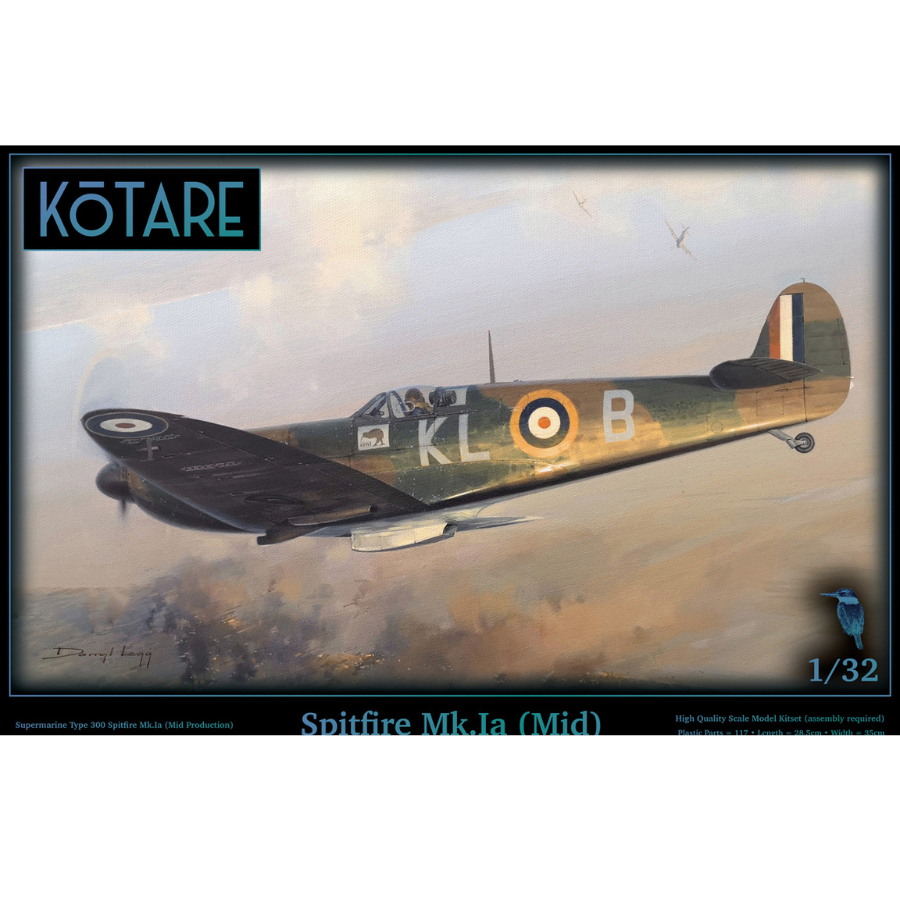
Kotare Spitfire Mk.Ia (Mid), K32001, 1/32nd Scale
Posted by Phillip Friddell on 17th May 2023
Imagine for a moment a young man, maybe in his late teens or possibly a bit older, sitting in a lawn chair beside a grassy field, basking in the sunshine of a late Spring day. Maybe he’s looking at the shapes the clouds make, or thinking of a special girl he’s just met, or trying without much success to take a nap amidst the chatter and horseplay of his friends nearby. Now imagine that a telephone rings in a building close by and he snaps to a full awareness of where he is and why he’s there, and maybe, if you can, imagine the wave of nausea that grips him just before the old-fashioned brass bell begins to clang causing him to jump up, clumsily burdened by his flight gear and heavy jacket, and and begin to run for the line of tiny brown and green fighters already being started and stuttering into life by the mechanics that surround them. Then consider his chances of surviving that day as his Spitfire races down a grass runway and lifts majestically into the air, climbing and banking to find and stop the bombers and fighters racing in to destroy Britain and a way of life. An overweight and balding middle-aged Winston Spencer Churchill said it best in a speech to the British House of Commons on August 20th, 1940, as the Battle of Britain was reaching its climax: “Never in the course of human conflict has so much been owed by so many to so few.”
The time was the Spring and Summer of 1940, and the scene we’ve just described occurred day after day as the Battle of Britain was fought out in those warm British skies. The Supermarine Spitfire was heavily involved in the fight from the very beginning and, in concert with the Hawker Hurricane, quickly became an iconic symbol throughout the world, which made it a natural subject for the then-emerging scale modeling community birthed after the conclusion of the Second World War. A great many kits of the type have been released over the years, some good, some bad, and some merely indifferent, but a very few have been superb. This kit is one of the latter. It may, in point of fact, be the best kit of Supermarine’s thoroughbred fighter ever produced, period.
It should be a great kit, of course, because its lineage is about as good as it gets. Its manufacturer, Kotare Models Ltd, is the direct descendent of the late and heavily lamented WingNut Wings, run by many of the same folks and doing the same sorts of things but with airplanes of a different era as the focus of their attention. The model represents a very specific subtype of the Spitfire, the Mk Ia (mid-production), the variant that was heavily used in the Battle of Britain, and it’s exceedingly accurate as a proper representative of that particular airplane. We could honestly end our review here, because we’d be hard pressed to find anything we disliked about the kit. If a late Battle of France or early to mid-Battle of Britain Spitfire is your cup of tea, this is the kit regardless of what scale you normally work with. This is It. This is The One. Period. Fin.

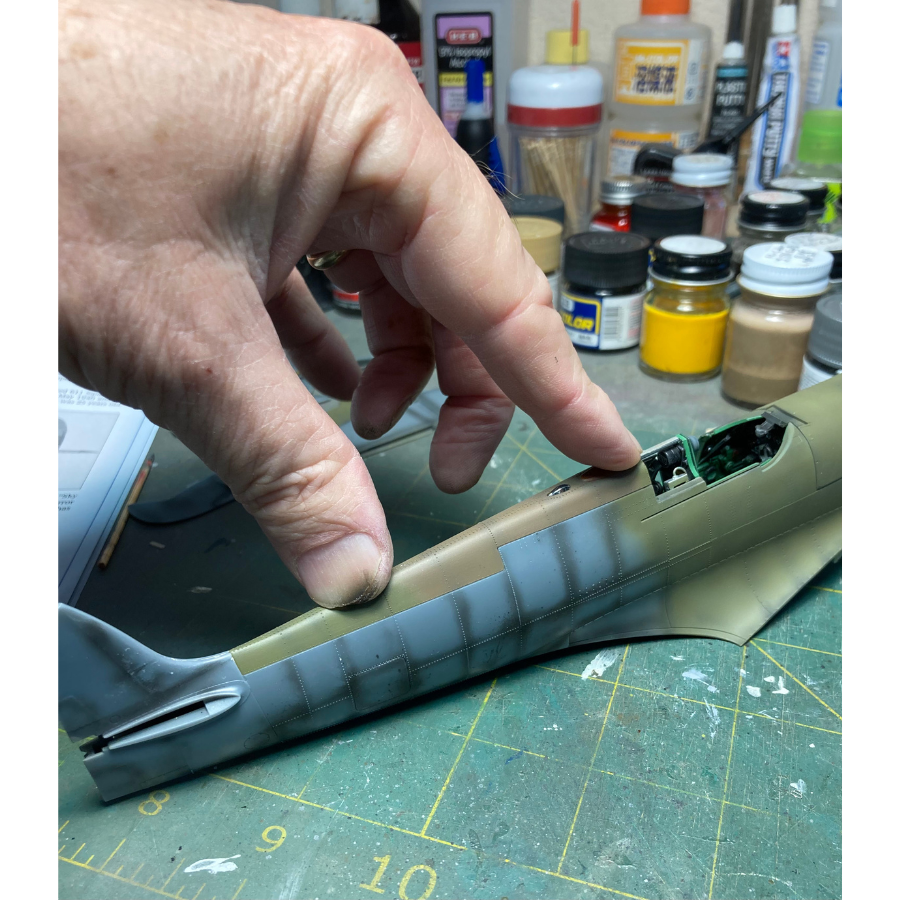
So, what do you get when you open the box to see what all the fuss is about? Not very much, truth be known, because the kit contains only what’s needed to build the model in the most simple and direct, albeit highly detailed, manner possible. It offers a very complete cockpit and wheel wells and the surface detailing must be seen to be believed, but there’s no engine nor is there any sort of detail inside the aft fuselage in spite of the pair of panels back there, offered as separate components only because those panels changed a bit between variants and Kotare have announced that there will be further versions of the airplane to come. For now, however, everything you’ll need to build an accurate Spitfire Mk.Ia is in that box, produced in the most user-friendly manner possible and using the least number of parts required to get the job done. The kit is intelligently designed and once completed looks like a Spitfire in a way no other model has to date. It has the sit, it has the detail, and in the right lighting on the right day you’ll swear you can see the finished model trembling and hear its Merlin engine purring to you. Still, and regardless of how good the completed model is, there are a few things you might want to know about the kit before you build it, so humor us for a moment while we discuss what we did and didn’t do as we built our review sample. (You might also humor us when viewing the attached photographs of our workbench. We actually WORK at that edifice, so it isn’t especially neat and it most assuredly isn’t pretty. It is, however, highly functional.)
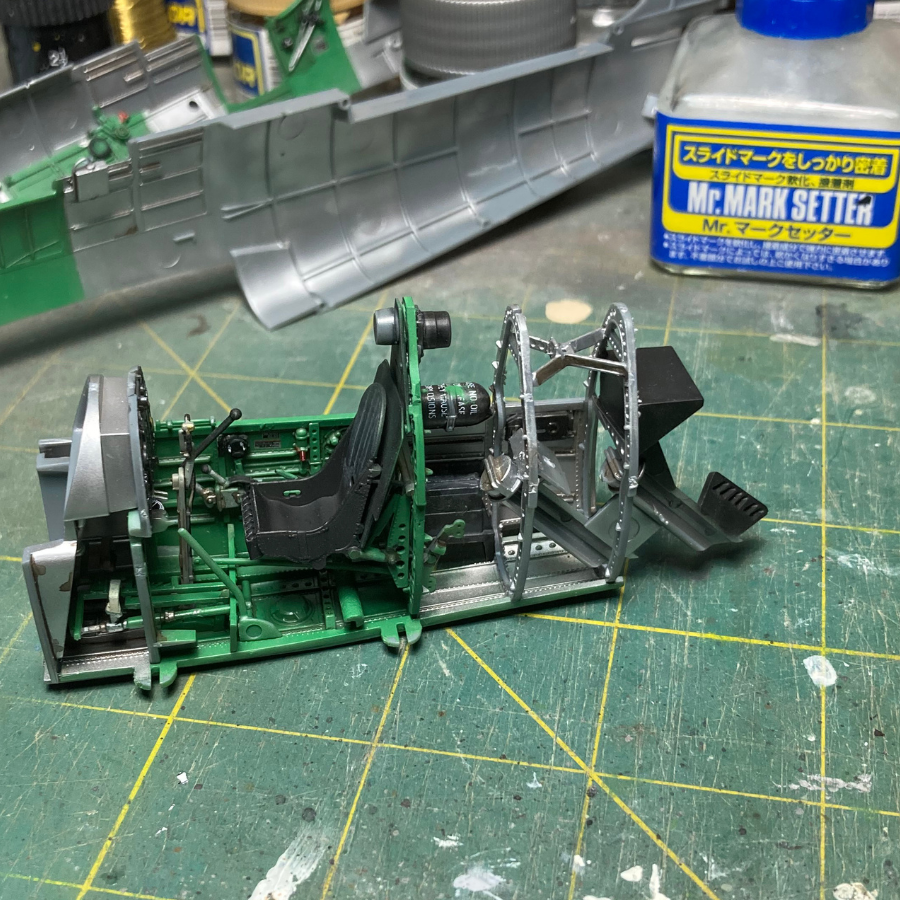
Putting first things first, the model offers an extremely well-detailed interior and we spent nearly half our assembly time working with it. Optional parts lie within this assembly and, like much of the kit, are keyed towards whichever decal option you choose to use for the particular airplane you’re building, so paying attention to the instructions is essential. It’s also essential that you read ALL of the instructions regarding that interior before commencing to build anything; it’s crucial to your success that you understand where everything is supposed to go and the interior is spread out among five steps of construction plus a painting guide that interrupts that construction sequence. You’ll also want to make friends with a good decaling system because quite a few of the details you’ll be working with, primarily in the realm of gauges and placards, live inside that cockpit including all of the instruments, and most of them are represented by individual decals. They’re really good but some can only be described as miniscule—you can read every one of them regardless of how tiny they are if you use a bit of magnification and we think they’re better than aftermarket, but they’ll require care in application and will take up quite a bit of your build time and patience. A couple of the plastic components in there are simplified but they’re of the “can barely be seen inside the finished model” variety. The effort you’ll put into that interior is worth every minute it takes you to accomplish it.
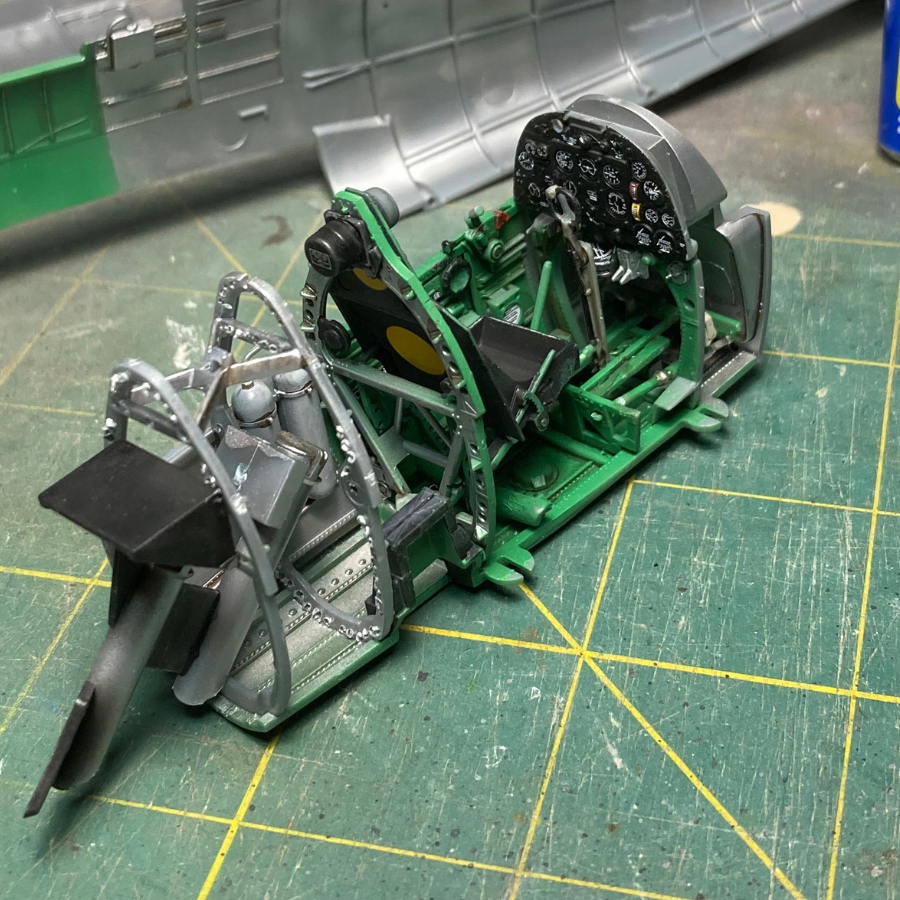
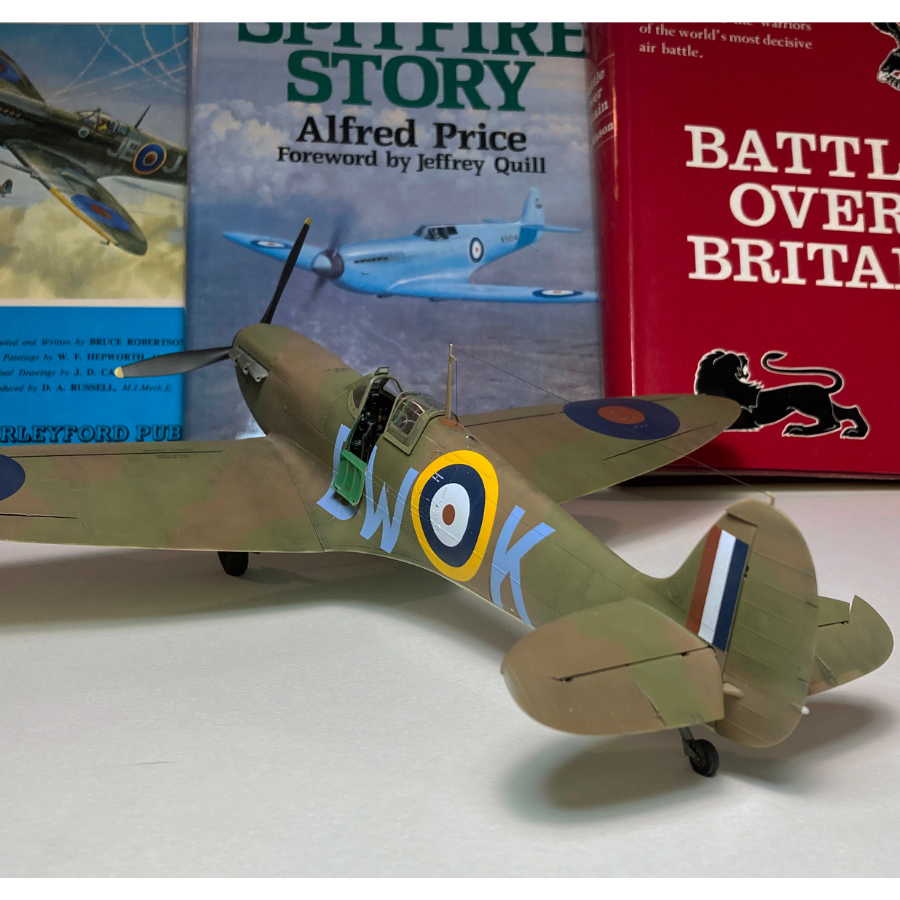
We’d be what some folks call remiss if we didn’t mention that interior color while discussing the office. Supermarine had their own distinctive shade of what’s been described by some as “apple green” and they used it in the cockpit on many of their various aircraft until they began sharing production of the Spitfire with Vickers, at which point things changed over to the grayish-green color we’re all so familiar with. All three of the schemes provided with this model are early, Supermarine-built airframes and in consequence have that somewhat garish green applied, which is a polite way of suggesting that you don’t try to second-guess the instructions this time because that goofy color is correct!
While we’re discussing the interior, you’ll also notice that the kit provides two separate seat backs, one with and another without a Sutton harness molded in place. That was the one and only area of the model we didn’t care for and we ended up using the bare seat back with aftermarket belts and harnesses, but that’s a choice for the individual modeler to make. We suspect the one that’s molded in place will paint up just fine should you choose to use it instead of taking the path we traveled.After the interior is completed it’s time to close up the fuselage, and by now you’ve probably read on the internet about how the fuselage spine doesn’t fit properly. That could certainly happen as a result of insufficient parts trimming and cleanup but we had no issues at all with that component. Our example dropped perfectly into place and no subsequent putty or blending work was required. Be sure you insert the clear formation light into the spine before you commit to glue, however, because there’s no going back if you forget to do it prior to sticking things together in a permanent fashion! As an aside to this assembly, as well as others, we took the liberty of pre-painting around the opening for that light as well as around the cockpit, all of the panels around the exhaust stacks, and the area surrounding the wheel wells. This was done partially to minimize masking during the painting process but primarily to avoid getting overspray anywhere inside the model’s interior. We did a lot of pre-fitting prior to assembly and discovered we could also use the same painting technique for the area surrounding the horizontal stabilizers—they literally click into place and are a tight fit with their mating surfaces—which in turn allowed us to pre-paint the horizontal stabs as well, tops and bottoms, and put them into place without having to mask anything back there.
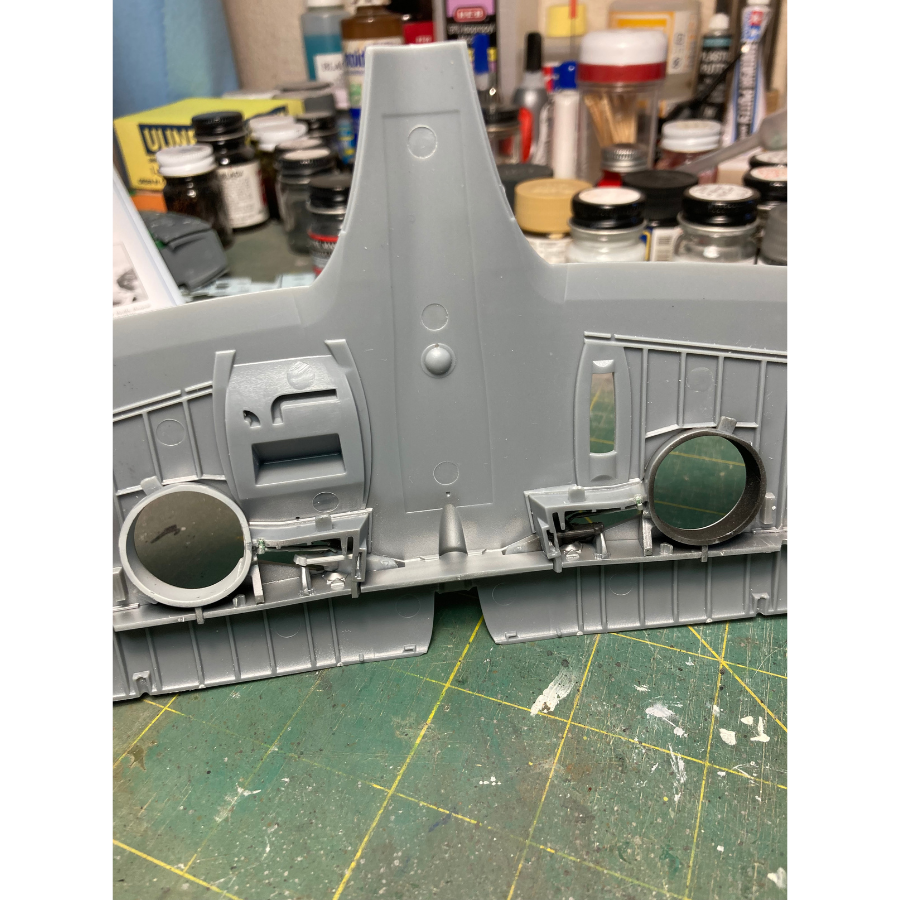
The wing spar and landing gear wells are next in the assembly sequence and are an area where we made a substantial deviation from the kit’s instructions. Step 8 covers those parts of the assembly constituting the wheel well surrounds but there’s also a need to install the landing gear hand pump jacks at that time. We couldn’t figure out a way to do it without having one end of those jacks just hanging in the air awaiting the installation of the landing gear legs as defined in Step 12 so we cheated a bit and slipped said gear legs in place prior to buttoning up the wing assembly, before the wing uppers were glued to the lowers. That simple deviation from Kotare’s intentions by combining those two steps allowed us to easily seat the gear because we could see what would otherwise have been a blind installation, hook up those dangling jacks to their proper homes on the struts, and ensure that everything was in proper and secure alignment in the wings. As things turned out, that little side adventure rendered the entire assembly easy to accomplish, with no guesswork or lost motion involved. We’re not advising that you do it that way but we did and think it’s something for the modeler to consider, or maybe not—you pay your money and you take your chances!
While we’re dealing with the wings, we might also make mention of the tiny stubs supplied for use as gun barrels. They fit properly but don’t look all that impressive once installed. On the other hand they can barely be seen once in place and not seen at all if the doped patches covering the gun ports are applied over them during the decaling phase of final assembly; the kit offers a set of perfectly-fitting patches that show off the opened ports as well as a set of final patch decals to go over those and cover up the openings should you prefer to show them the way they looked prior to guns being fired. This model abounds in little touches like that, by the way, which really adds to the building experience.
Then there’s that other internet complaint about this kit; the exhaust stacks. They’re two-piece and have solid, albeit slightly dimpled, business ends and simply cry out for resin replacements, except for when they don’t! It took us all of ten minutes using a knife-edged jeweler’s file to open up the front four pipes and less than a minute total to perform the same operation with a small drill on the aft-most pair of stacks after the exhausts had been assembled, following everything with a quick cleanup using the tip of a hobby knife. Spend some money and buy some aftermarket or use a bit of Modeling 101. The choice is yours.
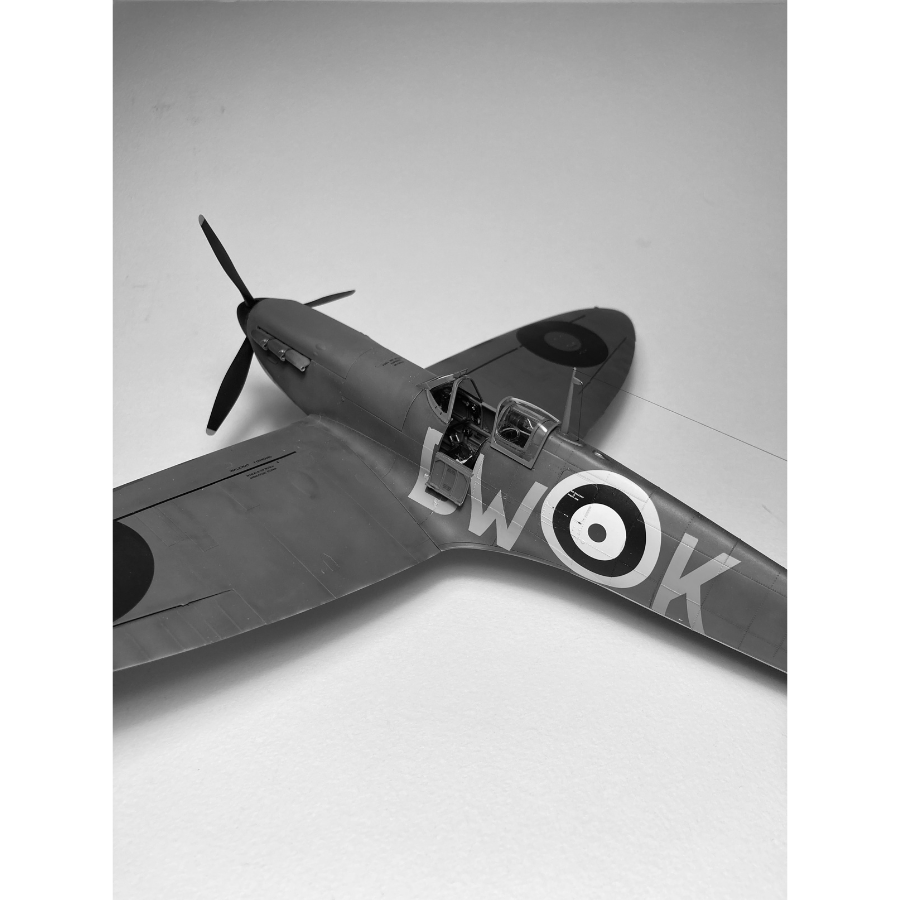
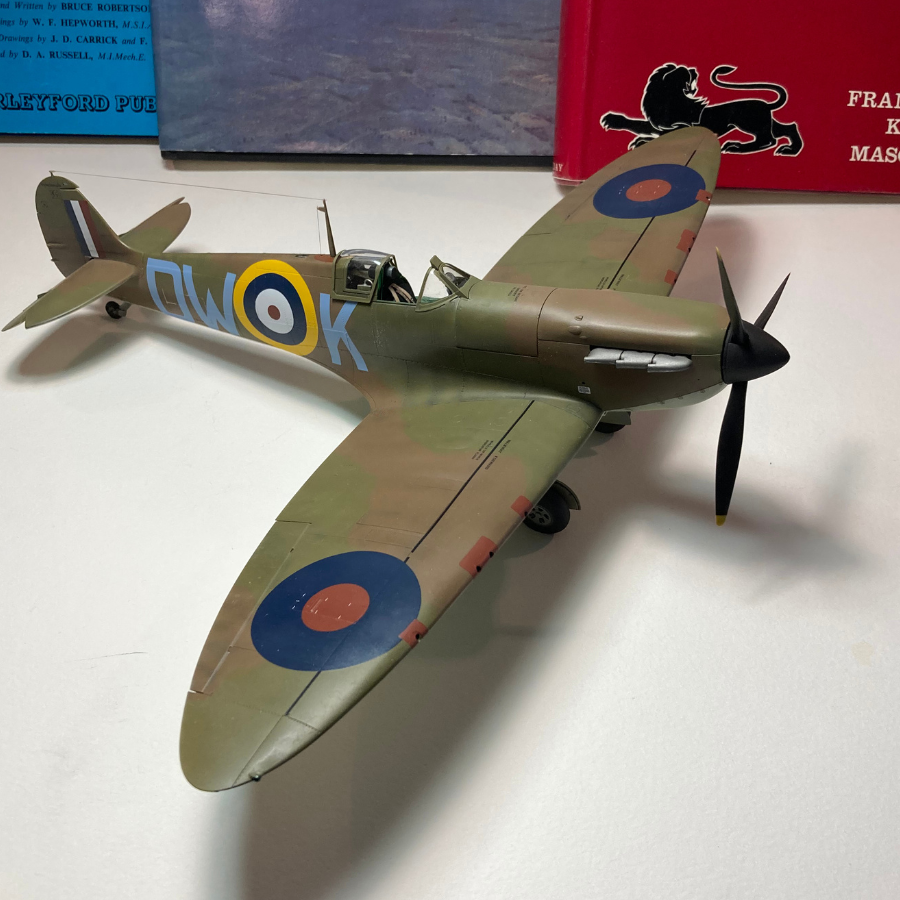
With those exceptions assembly is simple and linear, offering no surprises whatsoever. Everything fits once you’ve properly trimmed the various sprue attachment points and cleaned up all of the mating surfaces. Control surfaces are posable and that’s reflected in the cockpit as well with deflected control stick and rudder pedals if you choose to build those components kit stock. The cockpit door can be built either opened or closed, and different canopies, a one-piece closed offering and a three-piece that’s opened up, are provided to accommodate your choice of components there. They fit flawlessly and require an absolute minimum of cleanup. Two different propellers (Rotol and de Havilland) are offered, along with their appropriate spinners, and a couple of different rear view mirrors are provided, as are two different radio antenna masts, all to be married up to their appropriate airplane as defined by the instructions.
Decals are provided for three different Spitfires and their quality is superb. In fact, we employed the Mr Mark Setter/Mr Mark Softer decaling system during their application and the end results were better than what we often achieve with high-end aftermarket products. We do somewhat question the color used on the squadron codes which should be light gray for the time period covered but were more of a pale baby blue on the decal sheet in our kit. We’re getting used to the way it looks but those codes are the one thing in the kit we’d probably replace if we were to build another.
Finally, we have to mention something that, with any luck at all, won’t impact any of you: We managed to lose a part during construction of the model! It wasn’t a tiny insignificant part either—it never is when it happens to us—but rather one of some importance to the final appearance of the airplane; the carburettor air intake, which is moderately large and highly visible if you happen to be looking at the front of the airplane from virtually any direction. A couple of days of grubbing around on hands and knees and moving furniture around in our studio failed to turn up the part, so in desperation an email was sent to the folks at Kotare asking if they could sell us a replacement. We figured on another two days lost before we could possibly hear from anybody due to the significantly different time zones and the International Date Line, but Sacha at Kotare responded to us the next day, which was their Saturday, offering to express the part if we would cover the cost of postage. The following day (Sunday) saw a message from Richard Alexander, the product manager at Kotare, responding to our messaging with Sacha and offering commiseration and a shared happiness that we had managed to find the part after all. (The part actually found us, but we aren’t going to tell anyone that part of the story!) The immediate and thoroughly helpful response we received from Kotare says a lot about the folks there and the way they conduct business. There’s no doubt about it; Kotare is a class act in every regard!

Let’s sum up, then. The Kotare Spitfire Mk.Ia is one of the best detailed kits we’ve built during the 6-plus decades we’ve been modeling. It’s also one of the easiest to assemble, and is high up on our list as being among the most accurate. The instruction booklet includes a great many notes regarding the componentry of the real airplane and constitutes a valuable asset to the modeler in and of itself and is well worth placing in the reference files once construction and painting are done.
There’s been quite a bit of hype in our community regarding this model during the past several months and for once the build up is entirely accurate and well-deserved. The kit has earned every accolade given to it. It’s that good, and Kotare is an outstanding company in a hobby that’s blessed with a great many exceptional manufacturers. We wish them well, but we also really really really hope they do a Hurricane Mk I family someday soon. Until that time, it’s a loud and profound Tally Ho for the Kotare Spitfire!!!